


If you want to sell physical products, digital downloads, or service packages online in 2026, this WooCommerce setup guide for beginners India will walk you through the essential foundations. Unlike hosted platforms with expensive recurring monthly commissions, WooCommerce gives Indian business owners 100% data ownership, total customizability, and seamless native integration with Indian payment modes including UPI (Google Pay, PhonePe, Paytm), RuPay Cards, NetBanking, and Cash on Delivery (COD).
However, many first-time eCommerce entrepreneurs in India encounter the same frustrating roadblocks during their initial WooCommerce India setup:
- Payment gateways failing to activate or missing native UPI intent flow on mobile devices.
- Confusing courier shipping rates across regional and national pin codes.
- Unclear GST configuration (inter-state vs. intra-state taxes, HSN codes, and compliant tax invoices).
- High cart abandonment where visitors add items to cart but drop off during complex multi-step checkout.
Table of Contents: Jump to Any Section
- 1. Prerequisites: What You Need Before Starting
- 2. Step 1: Install WooCommerce & General Indian Settings
- 3. Step 2: Add Products (Simple vs. Variable Configurations)
- 4. Step 3: WooCommerce Payment Gateway India (UPI, Cards & COD)
- 5. Step 4: WooCommerce Shipping India Setup & Delivery Zones
- 6. Step 5: Automated Courier Integrations (Shiprocket, Delhivery)
- 7. Step 6: WooCommerce GST Setup (CGST, SGST, IGST & Invoices)
- 8. Step 7: Checkout Optimization & Abandonment Reduction
- 9. Step 8: Speed, Security & Legal Policies
- 10. 15-Point Pre-Launch Store Audit
- 11. Frequently Asked Questions
Whether you run a regional boutique in Tamil Nadu, a specialty handicraft business, or an emerging D2C brand across India, following this structured roadmap ensures your store is optimized for sales, compliance, and effortless day-to-day fulfillment.
What You Need Before Setting Up WooCommerce (Quick Checklist)
Before installing any eCommerce plugins, ensure your digital foundation is properly prepared:
- A Brand Domain Name: Choose a recognizable
.inor.comdomain name representing your business. - High-Performance Cloud Hosting: Unlike standard blogs, eCommerce sites handle dynamic cart sessions, database queries, and payment webhooks. Fast hosting with modern PHP versions (8.1+) and dedicated RAM is vital.
- SSL Certificate (HTTPS): Mandatory for browser security badges, customer trust, and PCI-DSS payment compliance.
- WordPress Core Installed: A clean, modern WordPress installation without conflicting multipurpose themes.
- Product Inventory Details: Prepared product titles, high-resolution compressed photos, MRP/sale prices, item weights in grams/kg, and applicable GST tax percentages.
If you are reviewing your broader business presence before building your online shop, consult our complete small business website checklist to ensure your core pages and trust signals are aligned.
Step 1: Install WooCommerce and Core Indian Settings
Installing WooCommerce is straightforward, but setting the initial regional parameters correctly prevents calculation errors down the road.
1.1 Plugin Installation
Navigate to your WordPress dashboard: Plugins → Add New → Search for “WooCommerce” → Click Install Now → Activate.
WooCommerce will launch its built-in onboarding wizard. You can input your primary store location, business sector, and primary product types. For official plugin reference and developer documentation, you can visit the Official WooCommerce Documentation.
1.2 Critical Regional Parameters to Confirm
Go to WooCommerce → Settings → General and configure:
- Store Address: Enter your registered business address. The state you select here (e.g., Tamil Nadu) forms the foundation for your intra-state vs. inter-state tax rules.
- Selling Locations: Set to “Sell to specific countries” and choose India (add international markets only if you have cross-border payment facilities).
- Currency: Select Indian Rupee (₹). Set currency position to Left with space (₹ 999).
- Decimal Separator: Dot (
.) and Thousand Separator: Comma (,). - Enable Taxes: Check the box for “Enable tax rates and calculations”.
Step 2: Add Products the Right Way (So Shipping & Tax Work Accurately)
A frequent mistake in early store setup is adding products without packaging weights and dimensions. Courier aggregators calculate shipping costs based on volumetric weight; omitting weights will break your automated shipping calculations.
Simple vs. Variable Products
- Simple Products: Ideal for standalone single items with one fixed price (e.g., a 250g coffee jar or a hardcover book).
- Variable Products: Essential for products offering multiple options like sizes (S, M, L, XL) or colors. In WooCommerce, you define global attributes (Products → Attributes), assign them to the product, and generate unique variations with individual SKUs and prices.
Key Product Data Checklist
For every product you upload, ensure you fill out:
- Regular Price & Sale Price: Shows clear MRP discounts directly on the product card.
- Inventory: Enable stock management, assign an SKU, and set low stock threshold notifications.
- Shipping Tab: Enter accurate packed weight (kg) and dimensions (length × width × height in cm).
- Tax Status & Tax Class: Set status to Taxable and assign the appropriate GST tax rate.
- Optimized Images: Compress product photos into WebP format under 150KB to keep catalog pages snappy on mobile connections.
Step 3: WooCommerce Payment Gateway India (UPI, Cards, NetBanking & COD)
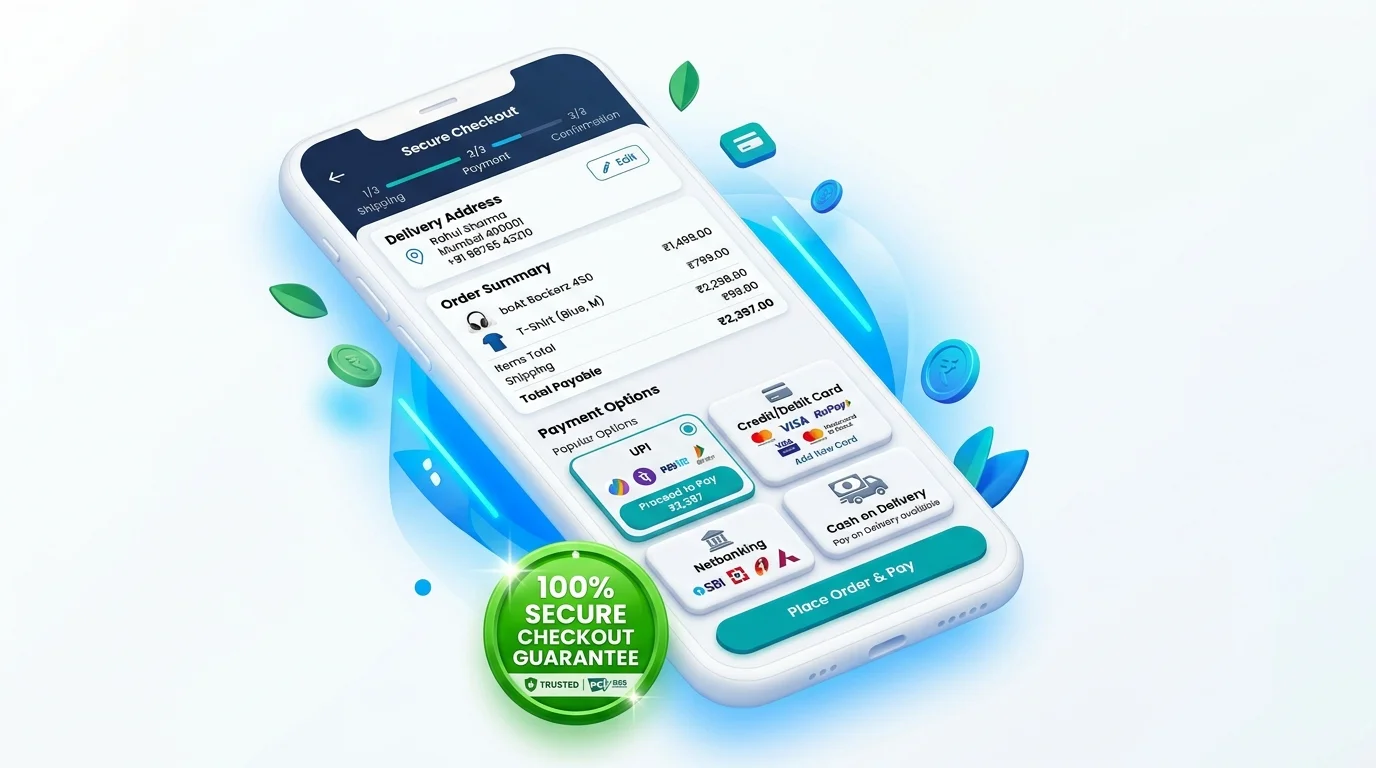
Payment friction is the number one cause of lost eCommerce sales in India. Over 75% of Indian retail transactions occur via UPI apps (Google Pay, PhonePe, Paytm, CRED). If your checkout forces manual VPA typing or redirects through clunky desktop screens, customers will bounce.
Leading WooCommerce Payment Gateways in India
To accept online payments, you must register with a RBI-authorized payment aggregator. Here is how the top Indian options compare:
| Payment Gateway | Best For | UPI Intent Support | Key Advantage |
|---|---|---|---|
| Razorpay | Most Indian startups & D2C stores | Yes (Seamless mobile flow) | Fastest onboarding, excellent WooCommerce plugin, instant UPI app switching. |
| Cashfree Payments | Growing brands & high volume | Yes | Competitive pricing, automated refunds, and high transaction success rates. |
| PayU India | Established retail businesses | Yes | Extensive enterprise bank coverage and international multi-currency processing. |
| PhonePe Payment Gateway | Mobile-first local shoppers | Yes (Native PhonePe app) | High familiarity among rural and tier-2/tier-3 shoppers across India. |
| Cash on Delivery (COD) | Local & trust-sensitive buyers | N/A (Offline collection) | Built into WooCommerce core; drives adoption for first-time buyers. |
How to Reduce RTO (Return to Origin) on COD Orders
While Cash on Delivery boosts initial orders, unverified COD orders often lead to customers rejecting shipments at the doorstep (Return to Origin), costing you two-way courier fees. Protect your store with these operational safeguards:
- Automated WhatsApp Confirmation: Connect an automated WhatsApp notification plugin asking customers to confirm or cancel their COD order before fulfillment.
- COD Fee / Minimum Cart Value: Charge a modest convenience fee (e.g., ₹49) for COD or enforce COD availability only on orders under ₹2,500.
- Prepaid Discount Incentive: Offer an instant 5% discount for payments made via UPI to encourage digital prepayments.
Step 4: WooCommerce Shipping India Setup & Delivery Zones
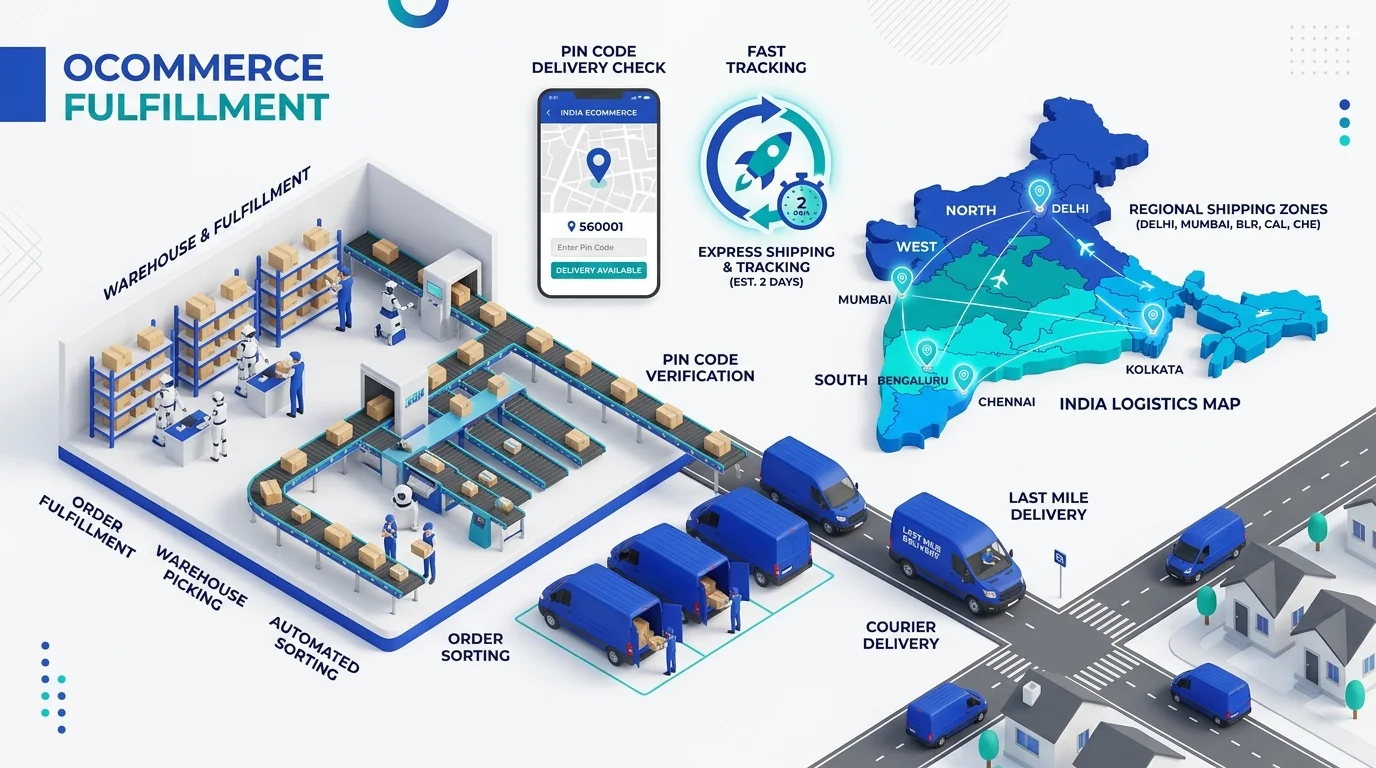
Shipping configuration in WooCommerce revolves around Shipping Zones. A shipping zone is a geographic region where a specific set of shipping methods and rates apply.
4.1 Recommended Zone Architecture for Indian Stores
Navigate to WooCommerce → Settings → Shipping → Shipping Zones and establish three logical zones:
- Zone 1: Local / Home State (e.g., Tamil Nadu):
- Zone Region: Select your primary home state.
- Method: Flat Rate (e.g., ₹50 or ₹60).
- Delivery Expectation: 1–2 business days.
- Zone 2: Rest of India (National):
- Zone Region: Select India (excluding your home state).
- Method: Flat Rate (e.g., ₹90 or ₹120).
- Delivery Expectation: 4–6 business days.
- Zone 3: Free Shipping Threshold:
- Add a Free Shipping method to both zones with the requirement: “A minimum order amount” (e.g., Free delivery on orders above ₹999). This simple tactic substantially raises average order value.
Step 5: Automated Courier Integrations (Shiprocket, Delhivery, Bluedart)
Manually booking parcels at your local post office or courier branch quickly becomes unmanageable as daily orders scale past 5 to 10 packages. Automated logistics aggregators streamline this entire pipeline.
By installing an official integration plugin like Shiprocket or direct carrier connectors (Delhivery, Blue Dart, DTDC):
- Orders placed in WooCommerce sync automatically to your courier dashboard.
- Real-time pin code serviceability and Cash on Delivery availability are verified instantly.
- Shipping labels, manifest documents, and customer invoices are generated with one click.
- Live tracking numbers are pushed back to WooCommerce, triggering automatic SMS/WhatsApp tracking links for the customer.
Step 6: WooCommerce GST Setup (CGST, SGST, IGST & Invoices)
Configuring Goods and Services Tax (GST) correctly ensures your business complies with Indian tax laws while keeping pricing transparent for your customers. For current tax slab classifications and official statutory notifications, consult the Government of India GST Portal (GST.gov.in).
6.1 Understanding Indian eCommerce Tax Rules
- Intra-State Sales (Within Your State): The tax is split equally into CGST (Central GST) and SGST (State GST). For an 18% tax category, the customer is billed 9% CGST + 9% SGST.
- Inter-State Sales (Outside Your State): The entire tax is billed as IGST (Integrated GST) at the full 18% rate.
6.2 Setting Up Tax Rates in WooCommerce
- Go to WooCommerce → Settings → Tax.
- Set “Prices entered with tax”: Choose whether your catalog prices already include GST (MRP display) or if tax is calculated additionally at checkout. (Most Indian consumer stores prefer inclusive pricing to prevent checkout sticker shock).
- Click on Standard Rates and insert two sets of rules:
- Rule 1 (Home State): Country Code:
IN, State Code:TN(or your state), Rate:9%, Tax Name:CGST, Priority:1. Add a second row for State Code:TN, Rate:9%, Tax Name:SGST, Priority:2. - Rule 2 (Inter-State): Country Code:
IN, State Code:*(leave blank for all other states), Rate:18%, Tax Name:IGST, Priority:1.
- Rule 1 (Home State): Country Code:
6.3 GST Invoice Generation
Standard WooCommerce order confirmation emails do not qualify as legal tax invoices in India. Install a reputable invoicing plugin (such as WooCommerce PDF Invoices & Packing Slips) to automatically attach downloadable PDF invoices featuring your 15-digit GSTIN, registered business address, HSN codes, and itemized tax breakdowns.
Step 7: Checkout Optimization (How to Turn Cart Adds into Paid Orders)
An eCommerce store rarely underperforms because of its catalog design alone—most sales are lost directly at the checkout step due to excessive friction and lack of trust.
Proven UI/UX Tweaks to Double Checkout Conversions
- Enable Frictionless Guest Checkout: In WooCommerce → Settings → Accounts & Privacy, check “Allow customers to place orders without an account”. Forcing registration before purchase increases cart abandonment by up to 30%.
- Strip Unnecessary Checkout Fields: Standard WooCommerce forms ask for Company Name, Address Line 2, and Postcode twice. Use a checkout field editor plugin to keep form fields strictly to Customer Name, WhatsApp Phone Number, Shipping Address, and Pin Code.
- Display Total Shipping Upfront: Never surprise shoppers with unexpected shipping surcharges at the final payment gateway screen. State shipping terms clearly on product pages.
- Prominent Trust & Return Badges: Display icons highlighting 100% Secure SSL Payment, Easy 7-Day Returns/Exchange, and an active customer support WhatsApp number directly beside the “Place Order” button.
Step 8: Speed Optimization, Security & Essential Legal Policies
eCommerce sites process sensitive customer data and payment interactions, making security and speed non-negotiable foundations.
8.1 Speed & Core Web Vitals
Every additional second of load latency slashes conversion rates. Maintain peak speed by implementing:
- LiteSpeed or Redis Object Caching: Speeds up database queries and shopping cart performance without breaking dynamic user sessions.
- Next-Gen Image Formats: Automatically convert uploaded product images to WebP.
- PageSpeed Benchmarking: Test your product and checkout URLs regularly using Google PageSpeed Insights.
8.2 Security & Maintenance Routine
Follow our comprehensive monthly WordPress maintenance and security checklist to schedule daily off-site cloud backups, enforce two-factor authentication for admin accounts, and keep all plugins patched against known vulnerabilities.
8.3 Mandatory Legal Policy Pages
To acquire payment gateway approvals and build customer confidence, ensure your store footer links directly to these verified policy pages:
- Privacy Policy & Terms & Conditions
- Shipping & Delivery Policy: State carrier partners and delivery timelines (e.g., 3–7 business days).
- Cancellation & Refund Policy: Clearly define return windows, refund processes, and non-returnable items.
- Contact Page: List a physical address, support email, and operational phone number.
15-Point Pre-Launch Store Audit Checklist
Before sharing your store URL or spending advertising budget, run through this comprehensive launch verification:
| Audit Area | Checklist Item | Status |
|---|---|---|
| Store Settings | Currency set to INR (₹) and Indian store address entered | Required |
| Product Data | All items have weights, clear photos, SKUs, and stock limits | Required |
| Payments | Payment gateway active in Live Mode with working mobile UPI intent | Required |
| COD Flow | Cash on Delivery rules, confirmation limits, and phone checks verified | Required |
| Shipping Zones | State and national shipping rates calculate accurately by pin code | Required |
| GST Tax Logic | CGST/SGST applies within home state, IGST applies across other states | Required |
| GST Invoices | Automated PDF invoice includes company GSTIN, HSN codes, and logo | Required |
| Mobile Usability | Sticky “Add to Cart” and frictionless guest checkout verified on mobile | Required |
| Security | Active SSL (HTTPS), login attempt protection, and offsite backups | Required |
| Speed | Core Web Vitals load fast without heavy uncompressed hero sliders | Required |
| Policies | Refund, Shipping, Privacy, Terms, and Contact pages published in footer | Required |
| Order Emails | Automated customer order receipt and admin notifications tested | Required |
| Tracking | Google Analytics 4 and Google Search Console verified | Required |
| Support | Direct WhatsApp support button visible across mobile screens | Required |
| Test Order | End-to-end real transaction executed successfully from cart to confirmation | Required |
Frequently Asked Questions: WooCommerce India Setup
Is WooCommerce really free to use in India?
The core WooCommerce plugin is 100% free and open-source. However, operating a professional online store requires a domain name (approx ₹800–₹1,200/year), high-speed hosting (approx ₹3,000–₹8,000/year), and transaction fees charged by payment aggregators (typically 1.5% to 2% per transaction).
Which payment gateway is best for WooCommerce in India?
Razorpay and Cashfree Payments are currently the top choices for Indian eCommerce stores due to seamless native mobile UPI app intent, high transaction success rates, quick onboarding, and robust WooCommerce integration plugins.
Do I need a registered GSTIN to start selling on WooCommerce?
Under Indian GST regulations, businesses selling goods interstate via eCommerce operators are generally required to register for GST. However, government exemptions exist for certain small service providers and intra-state threshold limits. Always consult a qualified Chartered Accountant (CA) to determine your business’s exact tax liabilities.
How does WooCommerce compare to Shopify for Indian businesses?
While Shopify charges recurring monthly platform subscriptions in USD plus extra fees for third-party payment gateways, WooCommerce has zero monthly platform fees, offers complete ownership of your database and customer records, and provides unlimited flexibility for custom design and Indian logistics integrations.
Can I integrate automated WhatsApp order notifications?
Yes. By integrating WooCommerce with the WhatsApp Business API or third-party automation tools, you can automatically send instant order confirmations, shipping dispatch tracking links, and COD verification prompts directly to your customers’ WhatsApp numbers.
Need Professional Help Launching Your WooCommerce Store?
Building an eCommerce business requires more than just installing a plugin—it demands high-speed mobile UI/UX design, reliable payment gateway integration, optimized courier routing, and a frictionless checkout that converts Indian shoppers.
At Vigroos Web Designs, we specialize in building fast, secure, and conversion-focused eCommerce stores tailored for Indian businesses. Explore our dedicated WooCommerce Website Development Services, review our transparent eCommerce website pricing packages, or contact Vigroos today to discuss your online store project.
Launch Your Indian Online Store: Partner with Vigroos for custom WordPress website development including UPI, Razorpay, shipping integrations, and GST setup.